
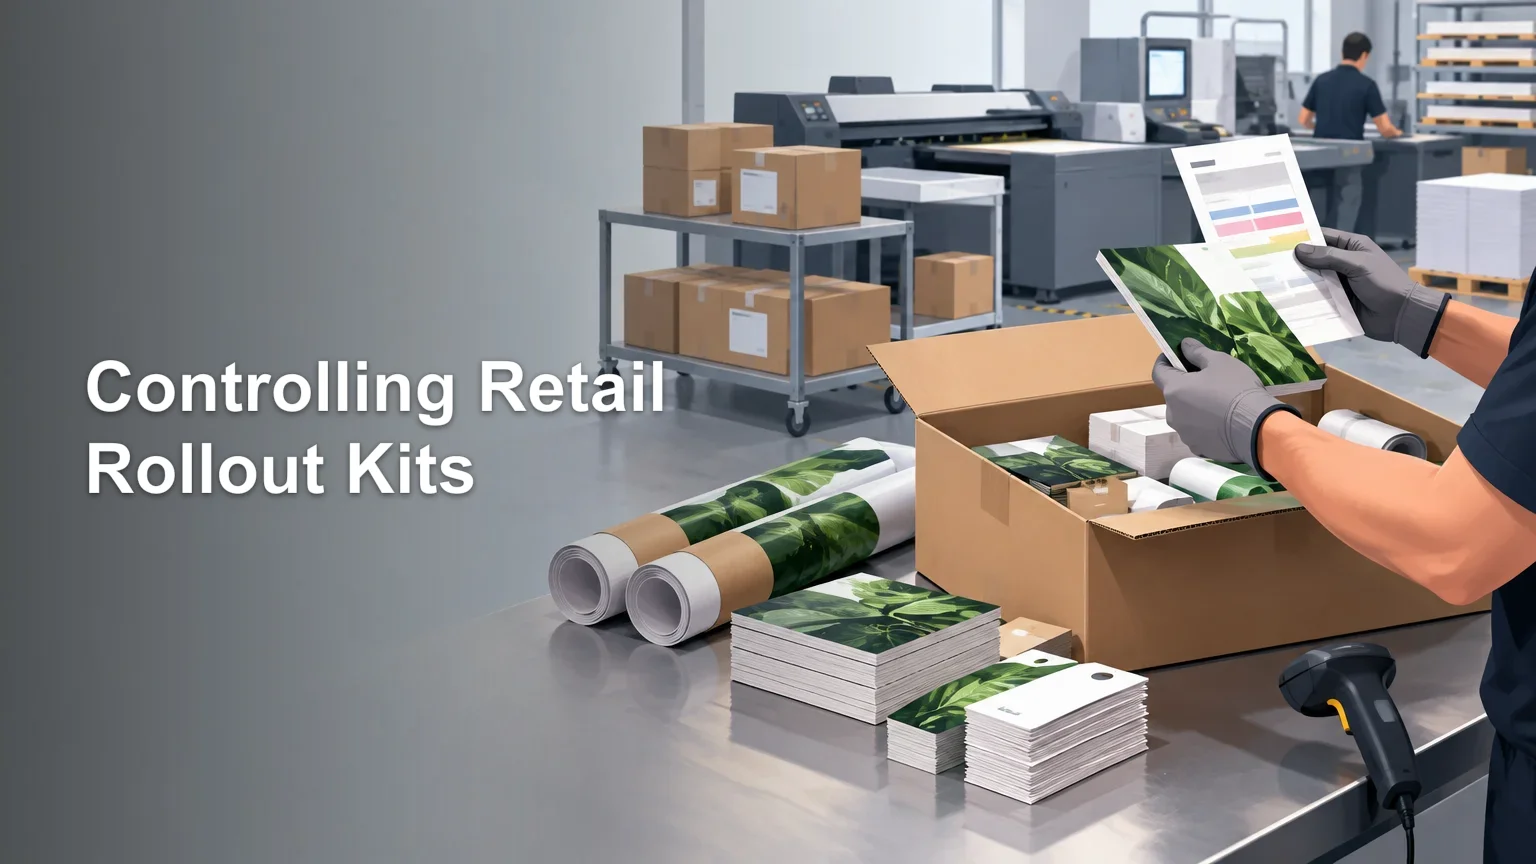
TLDR: Retail rollout kits should be managed as location-specific production records, not as generic boxes of signs. Build an approved profile for every store, derive a controlled bill of materials for that location, identify every component and revision, verify the kit during pack-out, and connect each carton to its shipment record. Decide how replacements, superseded artwork, delivery exceptions, and installation confirmation will be handled before production begins.
The difficult part of retail rollout kits is rarely printing 500 copies of a poster. It is determining which stores need that poster, which need a different size, which need two copies, and which cannot use it at all. Then the printer has to keep those decisions intact through production, finishing, picking, packing, labeling, shipping, receiving, and installation.
That makes a rollout an information-control job with printed components attached. The operating objective is not merely to ship every store a carton. It is to give each location the correct campaign materials, in an identifiable package, with instructions that make sense in that store. A carton can arrive on time and still be operationally wrong.
What is a retail rollout kit?
A retail rollout kit is a controlled package of campaign materials assigned to a particular store, store profile, or installation team. It may contain window graphics, counter signs, shelf communication, floor decals, fixture graphics, promotional cards, mounting hardware, removal tools, and instructions. Industry materials use adjacent terms such as “campaign sign roll outs” and “branding sign roll outs.” Retail-environment programs can also connect signage and graphics with in-store communications, fixtures, visual display, and digital elements, so the planning scope may extend well beyond posters.
The word “kit” can make the work sound simpler than it is. A kit is not defined by the carton. It is defined by the approved relationship among the location, components, versions, quantities, instructions, and shipment. If those records are unclear, careful packing cannot rescue the program.
Start with a controlled store profile
Before artwork quantities are finalized, create one approved profile for every destination. Do not let the shipping address serve as the store profile; it answers only where the carton goes. The production team also needs to know what can be installed there and how the location receives material.
A practical store profile can include:
- Unique store or location ID
- Store name, format, region, and operating status
- Validated shipping address and receiving contact
- Receiving hours, appointment rules, dock restrictions, and carrier limitations
- Window count, orientation, approximate usable areas, and access constraints
- Fixture types, sizes, and quantities relevant to the campaign
- Installation zones such as entrance, window, counter, aisle, cooler, or checkout
- Language, legal, pricing, or regional artwork requirements
- Whether installation is performed by store staff or a field team
- Launch wave, required arrival date, and planned installation date
- Known exclusions, construction conditions, temporary closures, or remodel status
Use controlled fields where possible. If one person records a format as “small,” another uses “S,” and a third types “small store except new fixture,” automation becomes an archaeological exercise. Free-text notes still have a place, but they should explain exceptions rather than replace basic classifications.
Assign ownership for profile approval and set a cutoff date. Changes after that point need a documented exception process because they may affect artwork, quantities, cartons, freight, and schedule. Whether production is handled by an incumbent supplier or a commercial and custom printing partner, the approved profile data should remain controlled by the rollout program rather than reconstructed from email threads.
Separate the master BOM from store-level BOMs
The bill of materials, or BOM, is the backbone of the rollout. I would use two related layers rather than one enormous spreadsheet that attempts to do everything.
| Control layer | What it defines | Why it matters |
|---|---|---|
| Master BOM | Every approved component that may appear in the campaign | Creates the controlled component library and current revision record |
| Profile rule | Which components and quantities apply to each store type or condition | Translates store characteristics into repeatable kit logic |
| Store-level BOM | The exact components, versions, and quantities assigned to one location | Becomes the pick, verification, packing, and exception record |
| Carton record | Which store-level components were placed in each carton | Connects physical pack-out to shipment and replacement investigations |
Each master-BOM component should have a unique ID, plain-language description, finished size, substrate or construction, finish, artwork version, packing requirement, and any installation dependency. “Window poster” is not a sufficient component description when the campaign includes several sizes and orientations.
The store-level BOM should be generated from approved profile rules and then frozen for production. Manual overrides may be necessary, but an override should record who made it, why, and when. Otherwise, a sensible one-time correction quietly becomes an unexplained discrepancy during pack-out.
Control versions at the component level
A campaign name and launch date do not provide adequate version control. Give every artwork component an identifier and revision. Use the same identity in the artwork filename, proof, production ticket, BOM, pick location, pack-out record, and replacement system.
A useful revision log records:
- Component ID and old and new revision
- Description of the change
- Approval status and approver
- Date the revision became effective
- Stores, profiles, regions, or waves affected
- Disposition of printed stock from the previous revision
- Whether packed but unshipped kits must be reopened
- Whether shipped stores need a replacement or cancellation notice
The disposition decision matters. Prior stock may be usable, restricted to an earlier wave, held pending review, or destroyed. “Use the latest file” is not a disposition rule. It also does nothing for pieces already printed or packed.
Color-critical brand work needs production control in addition to file control. A filename can prove which artwork was used; it cannot prove that output stayed on target. Buyers dealing with repeat color across processes or locations should also understand how print process control supports consistent output.
Design signage sets around installation zones
Organize the kit the way the store will install it, not merely the way the printer produced it. A press-efficient stack of mixed components may be a store-level puzzle. Grouping pieces by entrance, front window, checkout, aisle, or fixture gives the recipient a usable sequence.
For each zone, define the sign, mounting method, orientation, removal requirement, and any companion hardware. Confirm that the material and finish fit the environment. A floor graphic, refrigerated-case sign, exterior-facing window piece, and dry counter card do not share the same exposure or installation demands.
When the rollout includes rigid pieces, rolled graphics, adhesives, hardware, or samples, one kit may require multiple cartons or shipping methods. Preserve the kit identity across those packages with a carton sequence such as “1 of 3.” Do not make the store guess whether the other two cartons exist.
Make kitting a verification checkpoint
Kitting should not mean moving pieces from piles into boxes. It is the point where the printer verifies that physical production matches the store-level BOM.
A controlled sequence is:
- Release only approved components and store BOMs to the kitting area.
- Pick by store-level BOM, component ID, version, and quantity.
- Verify visually similar pieces by identifier rather than appearance alone.
- Record shortages, damage, substitutions, or overages instead of correcting them silently.
- Add the correct installation and removal instructions for that store profile.
- Perform the required second check, scan, count, weight check, or other verification step.
- Close and label the carton only after the kit passes verification.
- Associate the carton ID with the store, shipment, tracking record, and pack date.
The appropriate verification method depends on scale, component similarity, and risk. Barcode scanning can be useful, but it does not eliminate the need for sound item identity and barcode production. GS1 US notes that a barcode can look acceptable and still scan poorly when print quality, contrast, resolution, or placement is wrong. Its barcode placement and printing guidance is a useful starting point when machine-readable controls are being designed.
Write pack-out instructions for the person opening the box
A packing list tells the store what is present. Pack-out and installation instructions should tell the recipient what to do. Those instructions need to survive contact with a busy store, limited floor space, and a launch date that may not be today.
Include the campaign name, store ID, installation date, opening sequence, zone-by-zone component list, mounting steps, removal instructions, disposal or retention rules, and escalation contact. Identify materials that must remain sealed until launch and pieces that replace existing signage. If old material must be photographed, returned, or destroyed, say so directly.
I would place a concise instruction sheet at the top of the first carton and identify it on the exterior label. If the installer needs an account login merely to learn which box to open first, the physical workflow has been designed around the database rather than the human being.
Use carton labels as operational controls
A retail-kit label should work for both people and systems. GS1 guidance describes logistics labels as combining human-readable and machine-readable information, with different supply-chain participants potentially requiring different data. That principle is useful even when a rollout does not use a formal GS1 logistics-label implementation.
Useful carton-label fields include:
- Campaign and kit ID
- Destination store ID and name
- Ship-to address
- Launch wave or install date
- Carton sequence, such as 2 of 4
- Profile or kit type
- Handling instructions
- Carrier tracking identifier where applicable
- A human-readable exception warning for special handling
- Machine-readable identifiers required by the receiving workflow
Do not encode every important fact only in a barcode. A receiver should be able to identify the store, campaign, and carton sequence when a scanner is unavailable. Equally, do not assume large readable text makes a barcode technically sound. Human readability and scan performance are separate requirements.
Use launch waves to expose problems while they are still fixable
A staggered launch should have defined purposes, dates, owners, and acceptance criteria. It should not be a vague instruction to “send a few early.” A practical structure may include a pilot wave, an early controlled wave, the main release, and an exception wave.
The pilot should represent meaningful variation: different formats, regions, fixture types, receiving conditions, and installation models. Its job is to test profile logic, BOM accuracy, packaging, instructions, transit handling, and reporting. A pilot made entirely of easy nearby stores mainly proves that easy nearby stores are easy.
Set a decision gate before the main wave. Review missing components, incorrect versions, installation questions, carton damage, carrier exceptions, and profile errors. Decide which findings require a process change and which are isolated incidents. Then update controlled records rather than circulating a separate “please remember” email.
Define the replacement-piece workflow before launch
Replacements are inevitable enough to deserve a process, but no universal spare percentage fits every campaign. Risk depends on component fragility, print method, revision likelihood, shipping distance, installation difficulty, production lead time, and whether pieces are interchangeable among stores.
Define which components will have replacement inventory, who approves requests, how requests identify the store and component, and which shipping methods are allowed. Use reason codes such as production shortage, packing error, transit damage, store loss, installation damage, profile error, or artwork supersession. The reason determines whether the fix belongs in production, kitting, packaging, data, training, or carrier management.
A replacement record should link to the original kit and current approved revision. Otherwise, the replacement desk can efficiently ship a second copy of the wrong piece. Also decide whether the failed or obsolete component must be photographed, returned, or destroyed before closing the request.
Connect shipment tracking, delivery, and installation
Tracking answers where the carrier believes a package is in its network. Delivery confirmation indicates that the carrier completed a delivery event. Proof of delivery may provide additional evidence for eligible signature-required services. USPS states that its Proof of Delivery documentation can include recipient information, tracking number, signature image, address, and delivery-location information, depending on the service used.
None of those records proves that the correct signs were installed. Keep three statuses distinct: shipped, delivered, and installed. Installation may need a store acknowledgment, field-team report, exception form, or photo workflow. The required evidence should reflect the campaign's risk rather than becoming administrative theater.
For enterprise receiving systems that support it, an advance ship notice may help the destination prepare before freight arrives. GS1 guidance describes an ASN as an EDI 856 transaction that communicates shipment information before receipt. It is a conditional integration choice, not a requirement for every rollout. Confirm the retailer's data format, identifiers, timing, and carton hierarchy before promising it.
Pre-production checklist for retail rollout kits
- Every active destination has an approved store profile and unique ID.
- Profile fields use controlled values, with free text reserved for genuine exceptions.
- The master BOM identifies every approved component and current revision.
- Rules connecting store profiles to component quantities have been tested.
- Every store-level BOM is frozen, traceable, and available to kitting.
- Late changes have approval, affected-location, inventory-disposition, and rework decisions.
- Production specifications define size, material, finish, and installation dependencies.
- Signage sets are organized around real installation zones.
- Pack-out instructions explain opening order, installation, removal, retention, and escalation.
- Carton labels identify campaign, store, wave, carton sequence, and handling needs in readable text.
- Machine-readable identifiers have been checked for data accuracy, print quality, and placement.
- Launch waves have dates, owners, representative locations, and acceptance criteria.
- Replacement inventory and approval rules are defined by component risk.
- Shipment, carton, tracking, delivery, exception, and replacement records can be connected.
- The team has defined what counts as delivery confirmation and installation confirmation.
- Vendor responsibilities, proofing, reprint terms, and escalation paths are documented; print-vendor selection should include these operational controls, not just unit price.
The next step is to test the information flow
Before releasing the full campaign, take several representative store profiles and trace them from source data to store-level BOM, production record, pick list, instruction set, carton label, shipment, and installation report. Look for any point where a person must interpret an ambiguous name, choose between two “final” files, or copy data manually without verification.
That exercise usually reveals the real rollout risk. The press may print every component correctly, but the campaign succeeds or fails on whether the right revision reaches the right store in a form that can be received and installed. Treat the kit as a controlled operating record from the beginning, and 500 locations become one managed program rather than 500 unrelated surprises.