
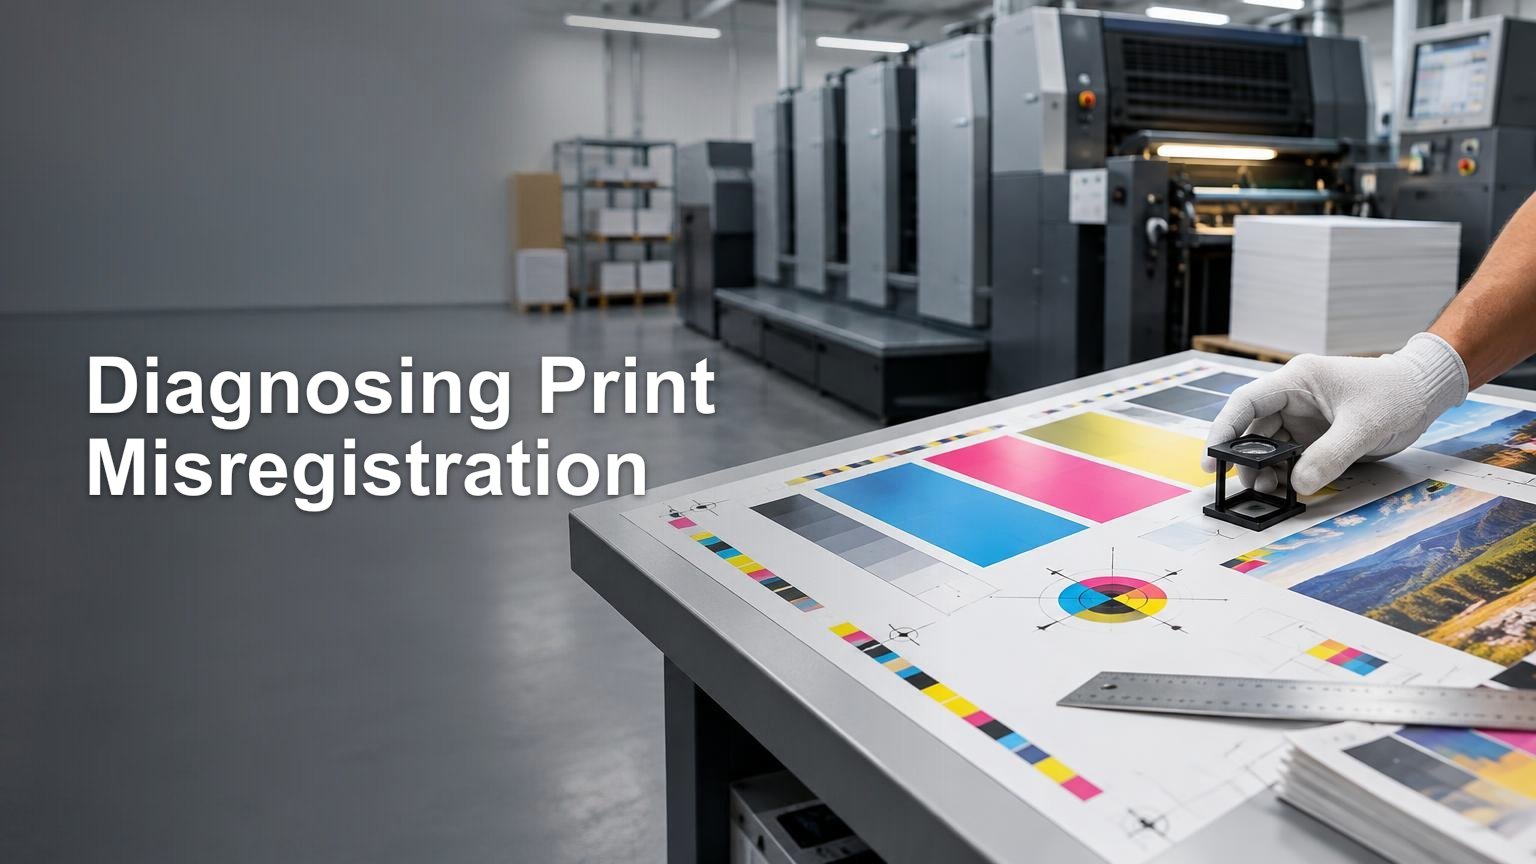
TLDR: first identify what is out of register
Print misregistration is not one defect. Color-to-color misregistration happens when ink or toner separations do not align. Duplex misregistration describes a front-side image that does not align correctly with the reverse side. Finishing misregistration occurs when cutting, folding, die cutting, foil, spot UV, white ink, or another operation does not align with the printed image.
The likely cause depends on which relationship failed. Press movement, paper distortion, separation settings, and trapping can affect color alignment. Media condition, feeding, calibration, and the duplex transport path can affect front-to-back placement. Guides, cutting-stack behavior, sheet movement, and registration-mark detection can affect finishing. Before arguing about tolerance, identify the category, photograph several pieces against a useful reference, and measure the direction and amount of displacement.
Registration marks and trim marks answer different questions
Registration marks help production equipment or operators align color separations or later operations. Trim marks identify where the finished piece is intended to be cut. A job can have excellent color-to-color register but still be cut off-center. It can also be trimmed correctly while one process color produces a visible fringe around type. Those are different failures and should not be reported merely as “the printing is crooked.”
| Registration problem | What is being compared | Common visible symptom |
|---|---|---|
| Color-to-color | One color separation against another | Colored fringe, white gap, doubled edge, or soft multicolor type |
| Front-to-back or duplex | The first-side image against the reverse-side image | Uneven front/back margins, shifted panels, rotation, or scale difference |
| Print-to-finishing | Printed image against trim, fold, cut, foil, coating, or another feature | Uneven border, displaced contour cut, off-center foil, or fold crossing the wrong location |
What causes color-to-color misregistration?
In conventional multicolor production, the substrate passes through separate printing units or receives separate color impressions. Movement between those impressions can create colored fringes or gaps. Paper can also stretch or change dimension during production. Press setup and condition, plates or imaging data, and the behavior of the chosen material can all contribute. None of those possibilities proves what happened on a particular job; the pattern across multiple sheets is the useful diagnostic evidence.
Prepress can make the result better or worse. Knockouts remove the underlying color, overprints place one color over another, and trapping creates a small overlap between adjacent colors. Incorrect separation or RIP handling can therefore resemble a mechanical registration problem—or turn a modest press variation into a conspicuous white gap. Adobe’s guidance on trapping color explains why trap width must suit the ink, paper, screening, and press conditions rather than being treated as a universal setting.
Excessive trapping is not a free cure. A trap that is too wide can produce an obvious outline or alter the apparent edge color. The objective is to conceal realistic process variation without adding a new visual defect. I would let the printer or prepress provider define trapping for the actual process unless the artwork is being prepared under an agreed production specification.
Artwork can advertise tiny variations very loudly
Some designs expose registration variation more readily than others. High-contrast colors that meet directly, fine rules, reversed-out elements, and small type assembled from several process colors leave little room for movement. Adobe specifically cautions that small type made from mixed process colors or tints can lose legibility when misregistration occurs.
For small black text, a single black separation is generally less registration-sensitive than a rich black assembled from several colors. Rich black can be useful for larger solid areas, but applying it indiscriminately to fine type turns every letter into a miniature registration test. The press did not request this audition.
Tight borders near the trim are similarly unforgiving. A small cutting shift may be inconspicuous on a full-bleed background but painfully obvious when it changes the width of a narrow border. A design can therefore be within an agreed production tolerance and still look disappointing because its geometry magnifies the variation.
What causes front-to-back or duplex misregistration?
Duplex registration is the relationship between the images on opposite sides of a sheet. A consistent horizontal or vertical shift is only one form. The reverse image may also be skewed, rotated, scaled differently, or distorted into a trapezoid or parallelogram. Those patterns point toward different combinations of feeding, transport, media, and correction issues.
Possible contributors include sheet dimensions, paper type, storage temperature and humidity, supplier or batch changes, feeder skew, guide position, lead- and side-edge control, duplex-path behavior, calibration, and an incorrect media setup. Production equipment may include measurement and correction controls for reverse-side placement, but it cannot make an unstable sheet behave like an engraved steel plate. Paper expands, contracts, bends, and varies. Canon’s production-print operation guidance discusses media conditioning and alignment factors relevant to duplex output.
The business consequence depends on the application. A modest shift may be irrelevant on a two-sided flyer with generous margins. It becomes critical when the reverse image must align with a fold, hole, perforation, window, cutout, or front-side graphic. I would specify that relationship explicitly rather than assuming “two-sided” communicates it.
When printing is aligned but finishing is not
A sheet can leave the press in acceptable register and still look wrong after cutting or finishing. Trimming, die cutting, creasing, folding, foil, spot UV, and other embellishments each introduce another alignment relationship. The relevant comparison is no longer color against color; it is the printed image against a physical or decorative feature.
Finishing systems may use cameras and printed marks to locate each image and compensate for positional shift, shrinkage, skew, or X/Y variation. The placement and configuration of those marks are part of the production plan, especially for tight contour cutting and registered embellishment.
Mechanical factors still matter. Sheets can sit differently against guides, and a cutting stack can move or compress. MBM notes that a dull guillotine blade or a tall stack can compress sheets during cutting, producing a slight finished-size difference from the top to the bottom of the stack. This is why inspecting one perfect sample—or one terrible sample—does not establish what happened throughout the run.
How to document misregistration for the printer
Do not begin with a photograph of one piece held at an angle under dramatic kitchen lighting. Retain several affected samples and compare them with apparently acceptable pieces from the same shipment. The goal is to show the defect’s direction, frequency, and relationship to a defined reference.
- Identify the failed relationship: color-to-color, front-to-back, print-to-trim, or print-to-finishing.
- Photograph the complete piece, then take close-ups of the affected feature. Include a ruler or scale where it helps.
- Measure displacement horizontally and vertically from a defined reference such as a trim edge, fold, hole, or printed keyline.
- Mark whether the error is a shift, rotation, skew, scale change, or irregular distortion.
- Record sample identity, carton or lot information, affected quantity, and whether the problem becomes better or worse through the stack.
- Keep physical samples. A photograph may show a fringe, but the printer may need the piece to distinguish printing movement from cutting or folding movement.
- Provide the approved proof, artwork, and written specification that establishes the intended result.
A useful quality report records the controlling reference, location, measurement, sample information, photographs, and affected quantity. That evidence helps separate prepress, printing, finishing, packing, and transport possibilities. For a broader receiving workflow, use the practical print quality checklist for production approval.
Why there is no universal registration tolerance
An acceptable tolerance depends on the process, substrate, sheet condition, feed direction, one- or two-sided production, equipment, finishing sequence, environment, and design feature being judged. Trapping requirements likewise vary with paper characteristics, screen ruling, and press conditions. A single tolerance copied from an unrelated printer or product is not a dependable answer.
The ISO/TC 130 guidance for using print-production standards explains that standards define process conditions and controls; the buyer and provider still need job-specific acceptance criteria for critical features. A process can be controlled while a design remains poorly suited to its normal variation. Conversely, a demanding design may be perfectly producible when its tight requirements are identified, priced, and engineered in advance.
Ask the provider which tolerance applies to the exact operation: process-color register, duplex image position, trim, fold, die cut, foil, spot coating, or another feature. Also ask whether the tolerance is measured from nominal position, between samples, or across the entire run. If the answer is merely “industry standard,” ask which standard, process condition, and measurement method. A phrase is not a specification. It is a mood.
If you are still choosing the product and production route, Printiverse custom printing and print-production resources can help frame the available options. The selected provider must still confirm the tolerances for its equipment, material, and finishing workflow.
How to reduce the risk before production
- Avoid building small type and fine rules from multiple process colors when one suitable separation will do.
- Give borders, contour cuts, folds, holes, foil, and spot coatings enough design clearance for the stated process tolerance.
- Tell the printer which front-to-back or print-to-finish relationships are functionally critical.
- Request an appropriate proof or production sample when alignment controls the job’s usability.
- Confirm who will create trapping and how overprints, white ink, and specialty layers should be supplied.
- Agree on the reference point, measurement method, sampling plan, and acceptance tolerance before the full run.
- Ask how the printer controls the process, especially when repeat orders must match an established result.
That final question is broader than registration alone. Print process control concerns defining a target, measuring production, and correcting drift so output is more repeatable. It cannot rescue an impossible design, but it can turn “looks about right” into a controlled production conversation.
The practical verdict
When print looks misregistered, identify the relationship before assigning blame. Colored fringes suggest a color-separation issue; front/back disagreement points toward duplex placement; an uneven border or displaced embellishment points toward finishing. Then inspect multiple pieces, measure from a meaningful reference, and compare the result with the tolerance agreed for that specific process.
My preference is to define critical alignment features when requesting the quote, not after delivery. The design, substrate, press, and finishing route collectively determine what is realistic. Registration becomes much easier to manage when everyone agrees on what must align, how it will be measured, and how much variation the job can actually tolerate.
References
- PDF marks, bleeds, and color output settings | Illustrator
- Trapping color (Acrobat Pro) | Adobe Acrobat
- 41868_How2Trap_text.IDD
- Product Information Automatic Paper Stretch Compensation
- Overprinting in InDesign | InDesign
- Create color traps in Photoshop on desktop | Photoshop
- How to use overprinting in Illustrator | Illustrator
- Trapping in Illustrator | Illustrator
- Overprint paragraph and footnote rules in InDesign | InDesign
- Automatically Correcting the Back Side Lead Edge Alignment of the Image – Canon imagePRESS C10000VP/C8000VP e-Manual
- Operating Instructions
- Trisoft InfoShare
- Problems with Printing Results
- DC-648 Slitter/Cutter/Creaser
- OPERATION MANUAL
- DocuCutter DPC-2024 Digital Die Cutter
- Duplo Spot UV Coaters and the Role of Registration Marks
- FAQs – mbm
- A Practical Print Quality Checklist for Approving a Production Job – Kit Yarrow
- Guidelines for using print production standards v2 Jan 2024